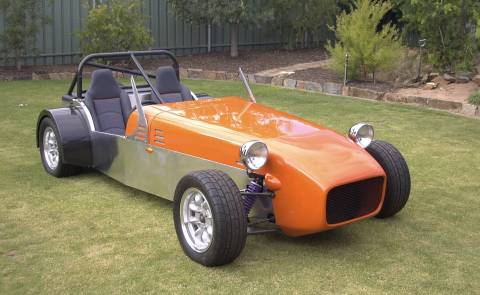
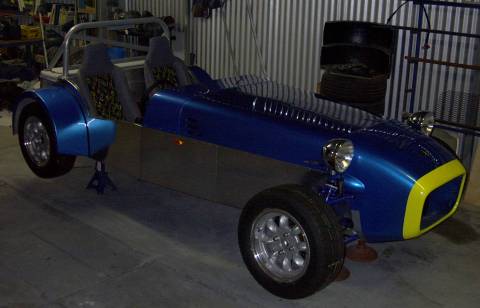
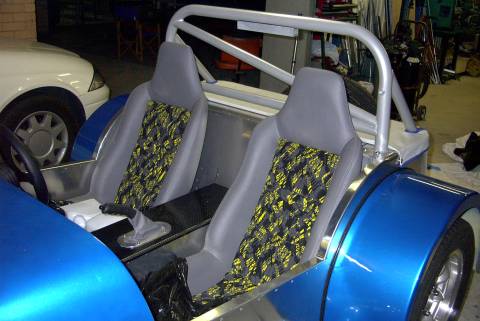
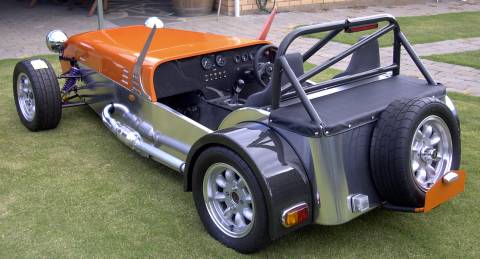
The History and Build Stories of The Sirius Sports 7
Written by Mike Laws
For most of us, it's a long hard road to owning your own Clubman Sports Car. Ever since theLotus 7 cars were released as kits, men and boys have dreamed having their very own '7' in the driveway. There have been many kits produced over the years of varying quality, and for every person who went ahead and built one there were quite a number who found it impossible to come up with the necessary time and money to complete their own project. Many of the Clubbie fraternity reading this know what is involved in building a kit and getting it registered. Most of you have been there and done that, and can take pride in the finished car and enjoy the fruits of your labour.
What has made it possible in recent times for many builders around the world to build a car, is the 'Locost' as it has come to be known, featured in the Ron Champion book "How to build your own sports car for E250.00". This book was first published in England in 1995, it's now in it's third edition, and has nurtured a veritable worldwide cottage industry in the building of a Clubman. It was the way that the book made it look fairly easy to do that attracted many people who had dabbled in metal work projects to take on a project of these proportions.
In Adelaide, Lloyd Clonan and Don Sims spent many a night planning the Sirius Clubman. The car was seen as an achievable project if the build was done within a group environment, without the need of a huge capital investment. I was first introduced to Lloyd in 1998 and in February 1999 I was lucky enough to be invited to a meeting to discuss the setting up of the Sirius build group. Over the next few weeks, we decided on a number of the final specs of the car. The overriding requirement was to build the cars on the KISS principle, giving us the best chance of finishing and enjoying our cars. There was to be no independent or De-Dion rear ends etc. In no time at all we had a group of 16 builders all set up and anxious to start work. One of the things we decided was to build a prototype to get "type approval". The advantages were that as long as the following cars are built to the same specs as the approved car, they don't all have to go through the same tests, and we could share the cost of the Engineer amongst the members. We decided to build the 'wide' version of the car; this is 100mm wider right through the centreline of the car. We also raised the chassis height by 50mm and lengthened the chassis by 50mm in the foot well area. Other small changes were made to enable an easier build, and as we decided to emulate the DAX Rush, for it's clean lines, we also copied the sloped side rails in the cockpit sides. The side elevation of the car is much nicer than the straight-sided body on the book car.
The build started at the end of February 1999 in Lloyd's shed when members cut and laid the side rails for the prototype chassis after spending a couple of nights doing a full size drawing of the chassis on the build table. As the prototype took shape members chassis' were started on a second table at Mike Laws' place, where the floor tubing was fabricated before being taken to Carlo Di Carlo's to be placed in his 3D steel jig for completion of the build. Lifting a motor/gearbox assy' onto the build table over the top of a chassis base and taking direct measurements off the motor to the chassis decided the tunnel size, engine mount and tubing placements. This gave good triangulation in the front half of the chassis each side of the tunnel area, and allowed us to maximise 'foot' room around the pedals. These cars can be driven in ordinary shoes without "hanging up" on the pedals. One of the main differences in 'our' frame is the one-piece longitudinal top and bottom rails. We believe this adds to the integrity of the frame, as there are no joints at the firewall or the front of the cockpit, where the frame turns in towards the centre, as in the book frame.

One of the projects we tackled was turning our own dies for urethane suspension bushes. The cheapest we could buy bushes locally, was $3.15ea. We sent the dies out and had bushes made for approximately 0.50E ea. We also turned dies for urethane shock bushes. They've all worked out really well and are a feature of our build. There are approximately 7 full lengths of tubing in each frame. 17 frames has allowed us to negotiate 'deals' with various suppliers, and when you order 300 lengths of tube at a time you get a pretty good price. It's the same with all the different components, there's always a supplier who will go that bit further to get a volume sale.

One of the areas of the Locost frame that has caused a lot of discussion right round the world is the very front of the frame known as the "L" Assy. In the book frame, which by the way is virtually a direct copy of a mid 80's Westfield, the L assy is fabricated with the top tube 75mm (3") behind the bottom tube. The left and right side tubes which join these two tubes angle outwards at the top about 68 or 70deg, as well as towards the rear. This means that both ends of these side tubes have compound angles, and for people who haven't done this type of thing before its very difficult to do. After drawing the L assy full size on the table in both side and front profile to get accurate measurements for the higher frame, it became obvious that there was an easier way to make it, and so I decided to build the assy 'flat', that is I built the assy with the top and bottom tubes square to each other rather than square to the base of the frame. The advantages are that there are no compound angles to cut and the side tubes can be easily set // to the centreline of the frame at the same time. This makes it easy to attach the suspension brackets when the time comes. The top of the main chassis now aligns with the rear top corner of the L assy and the nose needs a small V cut out of it to allow it to sit flat on top of the frame. You do need to cut compound angles on the top and bottom longitudinal rails at the front end, but they're a lot easier to do than the way it's done in the book.

There was quite a bit of work done at Carlo's in sorting out the lengths and angles for the various tubes in the frames. Once we had the required dimensions we were able to put a cutting sheet together, and another member John Choat set about cutting tubes in his cold cut saw, and identifying the various tubes, so the "assembly team" back at Carlo's knew where they went. A number of the tubes required fish mouthing to fit up to the various round tubes at the rear of the chassis. We found that 25mm tube fitted in the tool post of my lathe and was only about .010" off centre. That was good enough for us so all the fish mouthing was done at my place. Once we sorted out a system most of the frames were completed in 40 man-hours. Once completed, they were delivered to the various members. Any other brackets needed during the build were fitted by arrangement at a later date.
All in all it took nearly the first 12 months to complete all the frames and deliver them to the group members. Of course while all this was happening another team of guys under the leadership of Lloyd were forging ahead with the prototype, and making good progress. A lot of the work on the prototype was sorting out the positioning of components etc, and recording measurements etc, to pass on to the other members for their cars.

